
Tip of the Week: Cortana Can Do Even More than You Might Realize
![]()
One of the most recognizable names in technology isn’t a person, it’s a virtual assistant: Cortana. While Cortana has been of great use to many users, sometimes that user isn’t actually the person who owns the device and is just someone else in the same room. This can be annoying, but there’s a way to acquaint Cortana with a single user’s voice and listen to them exclusively.
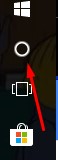
To set this up, you’ll need to access Cortana’s Settings. First, click on the Cortana Icon that appears on the taskbar.
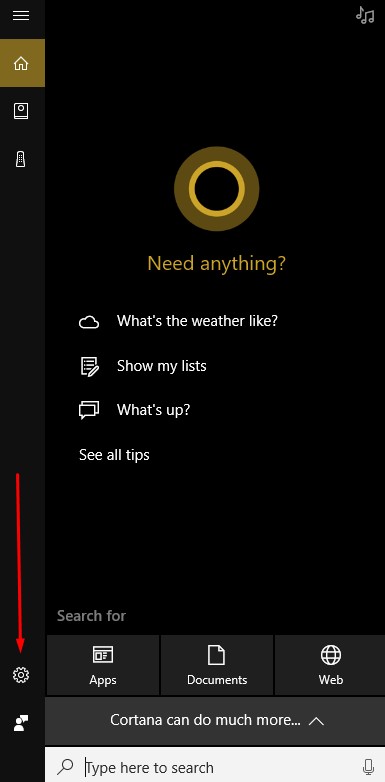
Next, access the settings menu for Cortana by clicking on the gear icon in the Cortana window that appears.
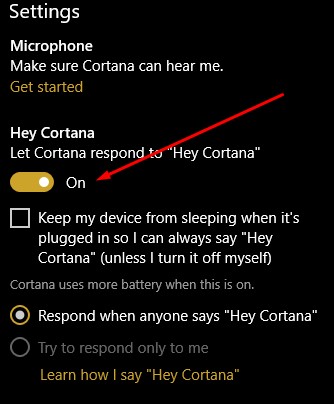
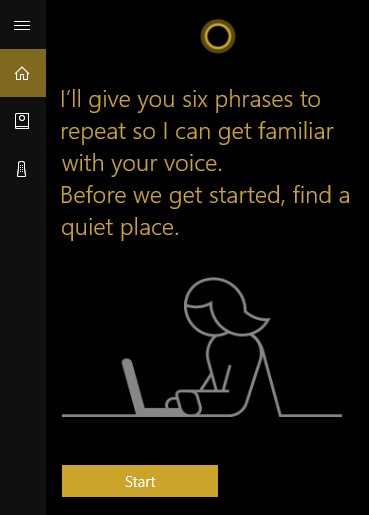
Activate Let Cortana respond to “Hey Cortana” and select Learn how I say “Hey Cortana.”
Once you do so, you will be prompted to recite six phrases so that Cortana can establish how you will say “Hey Cortana.”
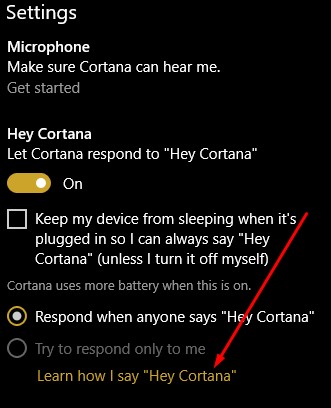
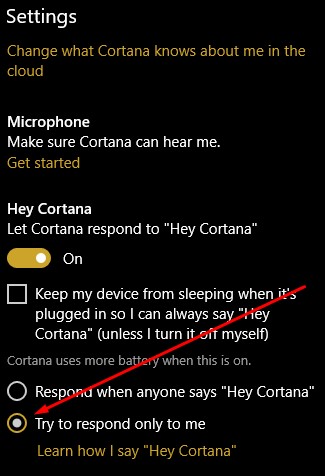
After this exercise is completed, go back to Cortana’s settings and confirm that try to respond only to me is selected.
Cortana is now primed to listen to only you and you can now use it for many purposes, including to navigate Windows 10.
Are there any other assistants you use, like Alexa, the Google Assistant, Siri, or Bixby? Which one is your favorite? Tell us why in the comments section!
Tip of the Week: Gmail Is Made Even Easier When You Use Filters
![]()
Your email inbox can quickly become an overwhelming mess without the proper management, but who has the time to sort through their email inbox on top of all of their other, more urgent responsibilities? Fortunately for Gmail users, the program provides the answer with its filter feature. For this week’s tip, we’ll show you how to regain control of your inbox with filters.
First, look to Gmail’s search bar at the top of the window and click the down arrow it has on its right side. A drop down will appear with numerous fields, allowing you to narrow your search. These fields include:
- From, or the sender of the message
- To, or the recipient of the message
- Subject
- Has the words
- Doesn’t have
These fields end with checkboxes allowing you to include messages with attachments in your search, and the ability to omit chat messages. You can also search based on message size and the date received.
Once these fields are filled out, you’ll be given the option to Create filter with this search, from which you can further customize the filter with more options. Once you’ve finished, click Create Filter.
You can also use a specific message to create a filter. Use the checkbox to identify the message that will inform the filter and click the More button that is above the message. You’ll be given the option to Filter messages like these and a few additional properties to assign to the filter.
If you need to return to a filter to edit it, access Settings via the gear icon in the right corner of the window to find Filters and Blocked Addresses. Out of the list of every filter you’ve created, select the one you’re ready to edit and make your changes, or delete the filter outright.
How likely is it that you’ll start to use these filters? Let us know in the comments, and make sure you subscribe to this blog for more tips!
Tip of the Week: Google Drive Is Even Handier With These 3 Tips
Google Drive is certainly a worthy cloud solution, and if you have the good fortune of using it for your organization, you know that it can offer everything from word processing to file storage options. However, there are always hidden features that can help you improve the way you use Google Drive. We’ll walk about three of the lesser known ways to use Drive that can help you better use it for your organization’s benefit.
Use Quick Access
Quick Access is a feature that lets you open your recent files without sifting through your Drive needlessly. You’ll have thumbnails of your most recently opened files on the top of your Drive’s home screen. If you want to turn on Quick Access, check Google Drive’s settings. Click the Gear Icon and select Settings. You need to select Make relevant files handy when you need them. Then all it takes is a page refresh and voila, Quick Access is turned on.
Take Advantage of the Search Function
There is a down-arrow at the top of your Drive’s screen which you can use to search for specific files. You can even filter the search results according to various fields, which include the type of field, the owner, where it’s located, and the date it was last modified, among many others. Proper use of the search function will help you find files more efficiently so that you can stay as productive as possible.
Remove Your Photos for Recent View
Many users take advantage of Google Photos to backup the photos on their mobile devices, but this can make it a little tricky to navigate your Google Drive. When you use Photos in this fashion, your Recent view will be so cluttered that it seems to become impossible to find what you are looking for. To remove your photos from Recent view, just use the Search function to filter out all .jpg or .png files in your Drive. This can work for both your web browser and your Google Drive app.
These tips can help you accomplish more in your workday and better use Google Drive to its full potential. For more great tips and tricks, subscribe to our blog and reach out to us at (317) 705-0333.